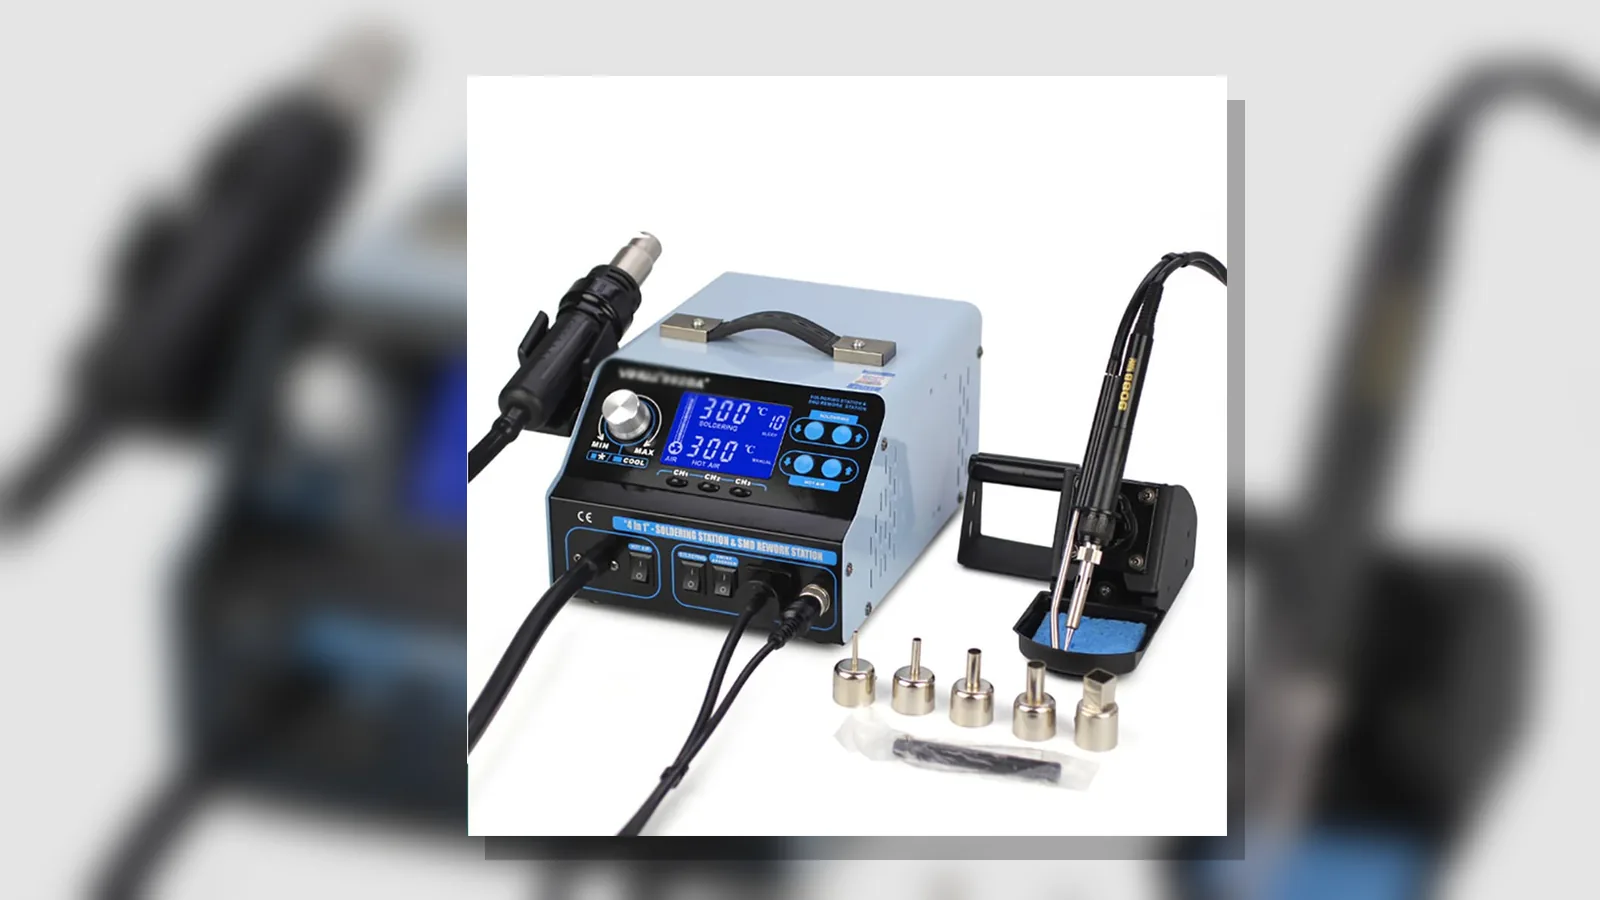
How to remove SMD components with hot air without forcing the board
The safest approach is a prepare-heat-lift-cool sequence: identify the part and its orientation, check the datasheet or board notes for heat limits, protect nearby plastics, warm the joints evenly with the right nozzle, lift only once the solder has fully reflowed, then let the board cool and inspect the pads.
Answer with a high-level prepare-heat-lift-cool sequence
Keep the process controlled and repeatable rather than aggressive.
- Prepare the board, the part and the surrounding area before you add heat.
- Heat the solder evenly until every joint on the component has reflowed.
- Lift the part vertically with tweezers or a suitable tool.
- Let the board cool, then check the pads before you fit a replacement.
Identify the component, orientation, nearby plastics and datasheet limits
Note pin 1, polarity marks, keying and any orientation reference before you start. Then look for nearby plastics, connectors, tape, labels, batteries or other heat-sensitive items that could soften or distort before the solder flows.
Where a datasheet, assembly note or board document exists, use it to confirm the component's heat limits and any handling guidance. If you cannot confirm those limits, treat the part as heat-sensitive and choose a safer method rather than guessing.
Prepare a heat-resistant, ventilated and ESD-aware workspace
Work on a heat-resistant surface with clear airflow, and keep the board powered off. Electrostatic discharge can damage electronic components, so use appropriate ESD controls such as a grounded mat, a wrist strap or another defined procedure and material set that suits your workspace.
Keep loose plastics, cables and small parts away from the hot zone so you can move the nozzle freely without catching anything nearby.
Choose a nozzle by work-area size and start on a scrap board
Choose a nozzle that matches the area you need to heat: smaller for tight, crowded parts and broader for larger packages. SparkFun's rework guidance shows the value of selecting the nozzle first, moving the nozzle rather than parking it in one spot, and lifting a reflowed part with tweezers.
Before you work on the real board, practise on a scrap board with a similar layout. That helps you judge how quickly the solder responds without risking the actual pads.
Apply flux only according to its instructions and heat evenly without fixed universal settings
Apply flux only in the amount and way the product instructions recommend. There is no single safe temperature or airflow setting for every board, so let the component, solder alloy, board thickness and nearby materials set the pace rather than relying on a universal number.
Move the nozzle in a smooth pattern so the heat spreads across the whole joint area. The aim is to bring all the solder joints to reflow together, not to blast one side until the part twists free.
Lift only when all joints have reflowed; never pry against pads
Use tweezers or a suitable pickup tool and lift straight up only when the solder has fully reflowed. If the part still holds, keep heating evenly. Do not lever, twist or pry against the pads, because that is one of the fastest ways to lift copper or damage the board.
If the part is reluctant, pause and reassess the setup rather than forcing it. A small change in nozzle choice, shielding or preheat approach is safer than extra pressure.
Cool, inspect pads and clean only with a chemistry-compatible method
After removal, let the board cool naturally before you touch the pads. Then inspect the footprint for lifted pads, solder bridges, torn mask or heat damage. Clean the area only with a method that matches the flux chemistry and board finish, and follow the product instructions if you are unsure.
If the pads are damaged or the board finish is lifting, stop and repair the area before fitting a new component.
Give stop-work signs and an FAQ for connectors, shields and unknown boards
Stop-work signs: stop if the board warps, the solder does not reflow evenly, nearby plastics begin to soften, or the part sits next to a heat-sensitive connector, battery or label. Stop as well if the device is a BGA, underfilled or glued assembly that is not suitable for this basic hot-air approach.
Connectors
Stop when a connector or socket is too close to the target part to shield safely. Connector housings can soften before the solder fully reflows, so it is better to pause than to risk a bent header or melted plastic.
Shields
Metal shields can pull heat away from the joint area and make the removal uneven. If the shield is part of the problem, slow down, reassess the access and avoid pushing through with more heat or force.
Unknown boards
If you do not have a datasheet or board note, assume the component is heat-sensitive until proven otherwise. Use the least aggressive method available, and refer complex, tightly packed or fragile boards to a competent repair service.
If you are comparing a rework-station option at category level, view the current product details.